Article: How to Clean a Natural Rubber Baby Teether Safely

How to Clean a Natural Rubber Baby Teether Safely
Table of Contents
- Why Natural Rubber Needs Gentle Care
- Cleaning Versus Sterilising: What the Difference Means
- Step-by-Step: How to Clean a Natural Rubber Baby Teether
- How Often to Clean Baby Teethers
- How to Dry a Natural Rubber Teether and Store It
- Can You Boil a Natural Rubber Teether?
- Common Mistakes to Avoid When Cleaning a Teether
- When to Replace a Natural Rubber Teether
- Frequently Asked Questions
Last Updated: November 21, 2026
Why Natural Rubber Needs Gentle Care
Natural rubber teethers are a popular choice for parents who want a soft, flexible toy that feels good on sore gums. Natural rubber can take in water, oils and cleaning residue over time. That is why the way you clean it matters.
Gentle, regular cleaning helps keep the teether fresh and in good condition for longer. It also means your baby is not chewing on leftover soap or grime.
Knowing how to clean a natural rubber baby teether gently each day goes a long way.
Cleaning Versus Sterilising: What the Difference Means
Cleaning and sterilising are not the same thing. Cleaning removes dirt, milk, saliva and food particles from the surface. Sterilising goes further and aims to kill germs (Bottle hygiene and equipment sterilisation).
For most everyday use, cleaning is enough. A baby's teether picks up dirt from floors, buggies and hands, and a good wash removes most of it. Sterilising is usually only needed in specific situations, such as when a baby is very young or unwell.
Sterilising methods like boiling or steaming can be too harsh for natural rubber. Before using any method beyond washing, check the care guidance that came with your teether.
Step-by-Step: How to Clean a Natural Rubber Baby Teether
Follow these steps to clean your teether gently and thoroughly:
- Rinse the teether under lukewarm running water to remove loose dirt.
- Fill a clean bowl with warm water.
- Add a small drop of mild, fragrance-free soap.
- Wipe the teether all over with a soft cloth dipped in the soapy water.
- Rinse the teether thoroughly under running water.
- Dry it with a clean, soft cloth or let it air-dry fully.
Using Warm Water and a Mild, Fragrance-Free Soap
Warm water works well for most dirt and milk residue. Avoid very hot water, as it can soften or weaken natural rubber over time.
Choose a mild, fragrance-free soap. Strong scents and harsh detergents can leave a taste or residue that your baby may chew on. Use only a small amount, as a little soap goes a long way.
Rinsing Away Soap Residue
Rinsing is one of the most important steps. Any soap left on the surface can end up in your baby's mouth. Rinse the teether under clean running water until you no longer feel any slipperiness. Take your time and check the ridges and details, where soap can hide.
The core cleaning steps are summarised below, so you can refer back to them quickly.
| Step | What to do | Time or frequency |
|---|---|---|
| Rinse | Rinse under lukewarm running water to remove loose dirt | Before washing |
| Prepare | Fill a clean bowl with warm water and add a small drop of mild, fragrance-free soap | Each wash |
| Wipe | Wipe all over with a soft cloth dipped in soapy water | Each wash |
| Rinse thoroughly | Rinse under running water until no slipperiness remains | Each wash |
| Dry | Pat dry with a clean, soft cloth or let it air-dry fully | Before storing |
How Often to Clean Baby Teethers
A natural rubber teether does not need a rigid timetable so much as a sensible rhythm. As a working rule, clean it after every use in which it has been in your baby's mouth, and always after it has been dropped, shared or left out in a bag or on a surface. If your baby uses it constantly through the day, one thorough wash in the evening plus a quick rinse after messy episodes keeps it fresh without over-washing the rubber.
It helps to think in terms of events rather than the clock, because the situations that matter are the ones where contamination is likely:
- After it has been in the mouth: saliva and milk residue are the everyday case. A rinse and a quick wash is enough.
- After it has fallen on the floor: this is the most common reason parents reach for a proper wash. Rinse first, then wash with mild soap and water as set out above. If it has landed somewhere visibly soiled, such as an outdoor pavement or a bathroom floor, treat it to a full wash rather than a rinse.
- After contact with food, drink or pets: wash it fully. Food residue and animal contact are not removed by a quick rinse alone.
- After being shared with another child: wash it before it goes back to your baby. Sharing is common among siblings and friends, and a wash in between is a simple habit.
- After being stored or carried: if it has been loose in a changing bag or on a shelf, a rinse before use is a sensible precaution.
A common pattern is to keep two teethers in rotation: one in use while the other is washed and drying. That way you are never tempted to hand back a damp or half-cleaned teether because the only one is in the wash.
Watch out: over-washing with strong soap is not the answer to frequent use. If you find yourself washing many times a day, a plain warm-water rinse between full washes is gentler on the rubber than repeated soap treatments.
Always wash before storing, so saliva and grime do not sit on the surface between uses. And if the teether has been in contact with something you would not put near a baby's mouth, it is better to wash it thoroughly or set it aside than to rely on a wipe.
How to Dry a Natural Rubber Teether and Store It
Drying properly helps prevent moisture from lingering in the rubber. Pat the teether dry with a clean, soft cloth first. Then leave it to air-dry fully on a clean towel, away from direct heat and sunlight.
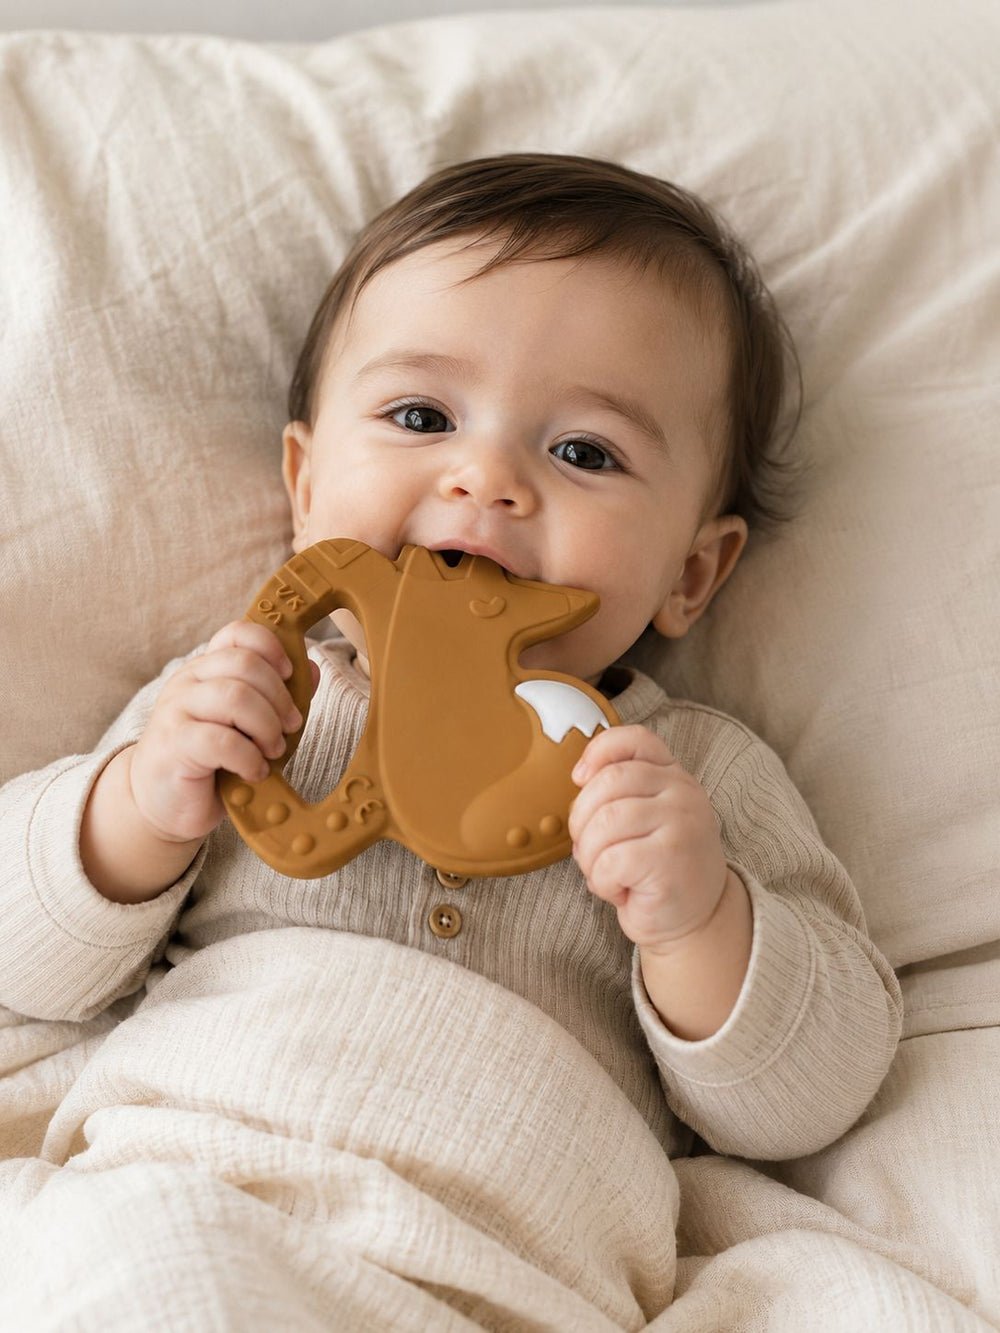
Once completely dry, store the teether somewhere clean and dry. Avoid sealing it in a damp bag, as trapped moisture can encourage mould. Keep it away from heat sources, which can affect the rubber.
Can You Boil a Natural Rubber Teether?
Boiling is not something we recommend for this teether. Check the care guidance supplied with it before using any heat-based method.
Instead, stick with washing in warm water and mild soap. If you are unsure whether a specific method is suitable, check the manufacturer's care instructions before you try it. These instructions are the best guide for your particular teether.
Common Mistakes to Avoid When Cleaning a Teether
- Using very hot water: This can weaken the rubber over time.
- Leaving soap behind: Always rinse thoroughly until no residue remains.
- Using strong or scented cleaners: These can leave residues your baby may chew on.
- Boiling or steaming without checking: Natural rubber may not tolerate high heat.
- Storing it damp: Trapped moisture can lead to odours or mould.
- Ignoring signs of wear: Clean, careful handling helps, but damaged teethers should be replaced.
When to Replace a Natural Rubber Teether
Over time, use and cleaning can change the condition of a teether, so it is worth checking it regularly. Rather than relying on a fixed replacement interval, get into the habit of a quick inspection every week or so, and always before you hand it back after cleaning.
A simple inspection routine
Hold the teether up to the light and work around it methodically:
- Look for cracks and tears. Small splits often start at the edges, around moulded details or where the material flexes most.
- Feel for stickiness or tackiness. A surface that feels tacky or leaves a residue on your fingers is a sign the rubber is breaking down.
- Check for changes in shape or firmness. A teether that has softened, sagged or deformed is no longer doing its job properly.
- Smell it. A sour or rubbery odour that survives a wash is a warning sign.
- Check any seams or joins. A one-piece sealed design is easier to inspect than a teether with crevices, but look closely at any moulded features.
Why condition matters more than a calendar
A fixed replacement interval is less useful than checking the teether's condition. The signs above are the ones to trust.
Watch out: if you can see a crack, a tear or a piece that looks ready to come away, stop using the teether straight away and replace it. Do not try to repair it, and do not pass it on to another child.
What to do with a worn teether
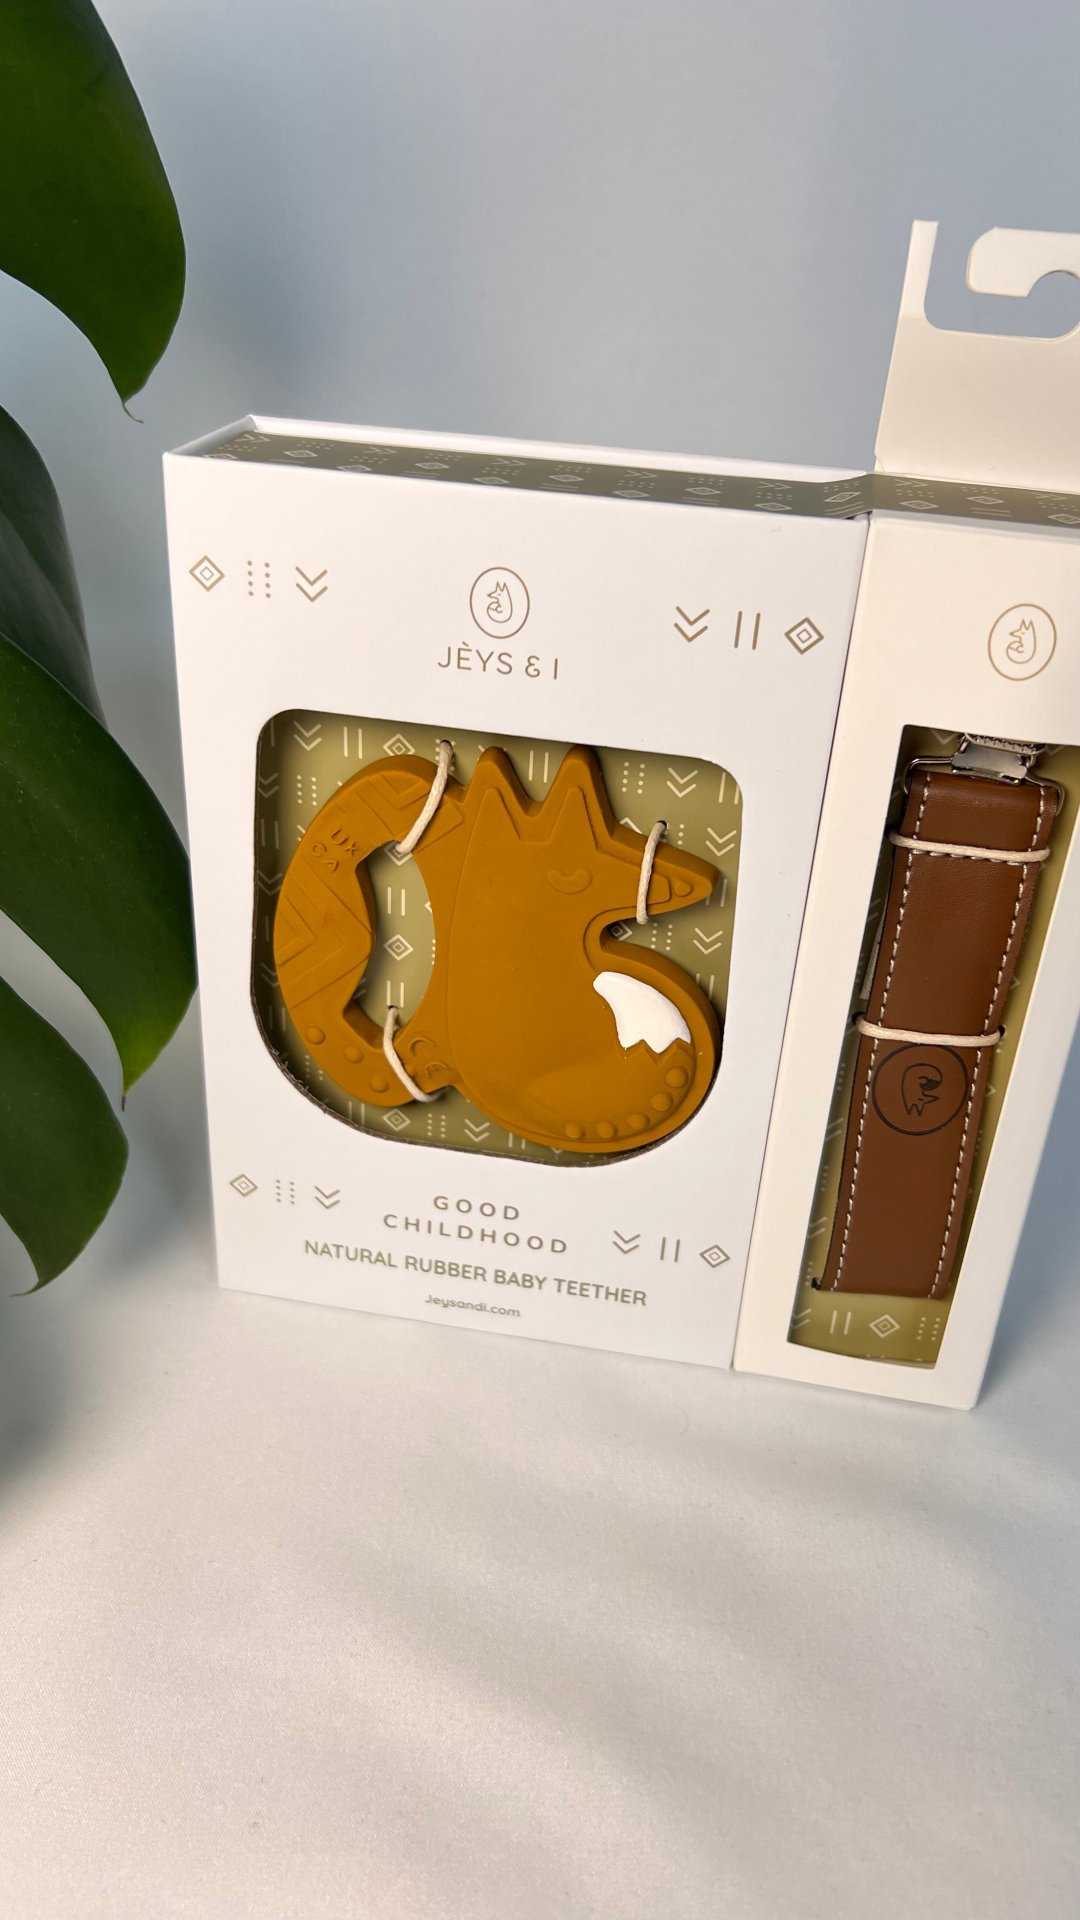
Once a teether shows any of these signs, it is best to retire it. If you are looking for a replacement, the Signature Fox Natural Rubber Baby Teether is a handmade option made from 100% natural rubber, with a one-piece sealed design. Its soft texture and raised details give little gums something gentle to explore.

For more on gentle, chemical-free care for baby accessories, see Cleaning Organic Baby Accessories: A Gentle, Step-by-Step Method. If you are weighing up materials for teethers and dummy clips, plant-based dummy clips are another gentle choice to compare.
Frequently Asked Questions
How do you clean a natural rubber baby teether?
Wash the teether in warm water with a small amount of mild, fragrance-free soap, using a soft cloth or your fingers to gently work over the surface and any raised details. Rinse thoroughly under running water so no soap residue remains, since residue can be unpleasant for a baby who puts the toy in their mouth. Then pat it dry with a clean, soft cloth and let it air-dry fully before the next use. Avoid soaking the teether for long periods, and check the manufacturer's care instructions for any product-specific guidance.
How often should you clean a baby teether?
Clean the teether after it has been in your baby's mouth, after it has been dropped on the floor or outdoors, and at least once a day if it is used regularly. A quick rinse may be enough between uses, while a fuller wash is better once a day or whenever it looks grubby. Regular cleaning helps keep the surface hygienic and makes it easier to spot early signs of wear, such as cracking or a sticky texture.
Can you boil a natural rubber teether?
Boiling is not generally recommended for natural rubber teethers. Gentle washing in warm water with mild soap is the safer everyday approach. If you are unsure whether a particular teether can tolerate any form of sterilising, check the care guidance supplied with the product before using a method that involves heat.
When should you replace a natural rubber teether?
Replace the teether if you notice cracking, splitting, tearing, a sticky or soft patch, discolouration that does not wash away, or any loose or damaged decorative details that could come off. Inspect it regularly as part of your routine cleaning, and stop using it straight away if you see any damage.